Hello, tech enthusiasts! Are you ready to transform your tiny computing device into a powerhouse with DietPi?
Whether you’re setting up a home server, a media center, or just experimenting, getting DietPi onto your SD card is the first step.
Today, I’ll walk you through the simplest and most foolproof methods to write a DietPi image file to an SD card. Let’s make this process easy and fun! 🎉
Why Choose DietPi? 🤔
DietPi is a highly optimized, minimal Debian-based Linux distribution that offers a lightweight and flexible foundation.
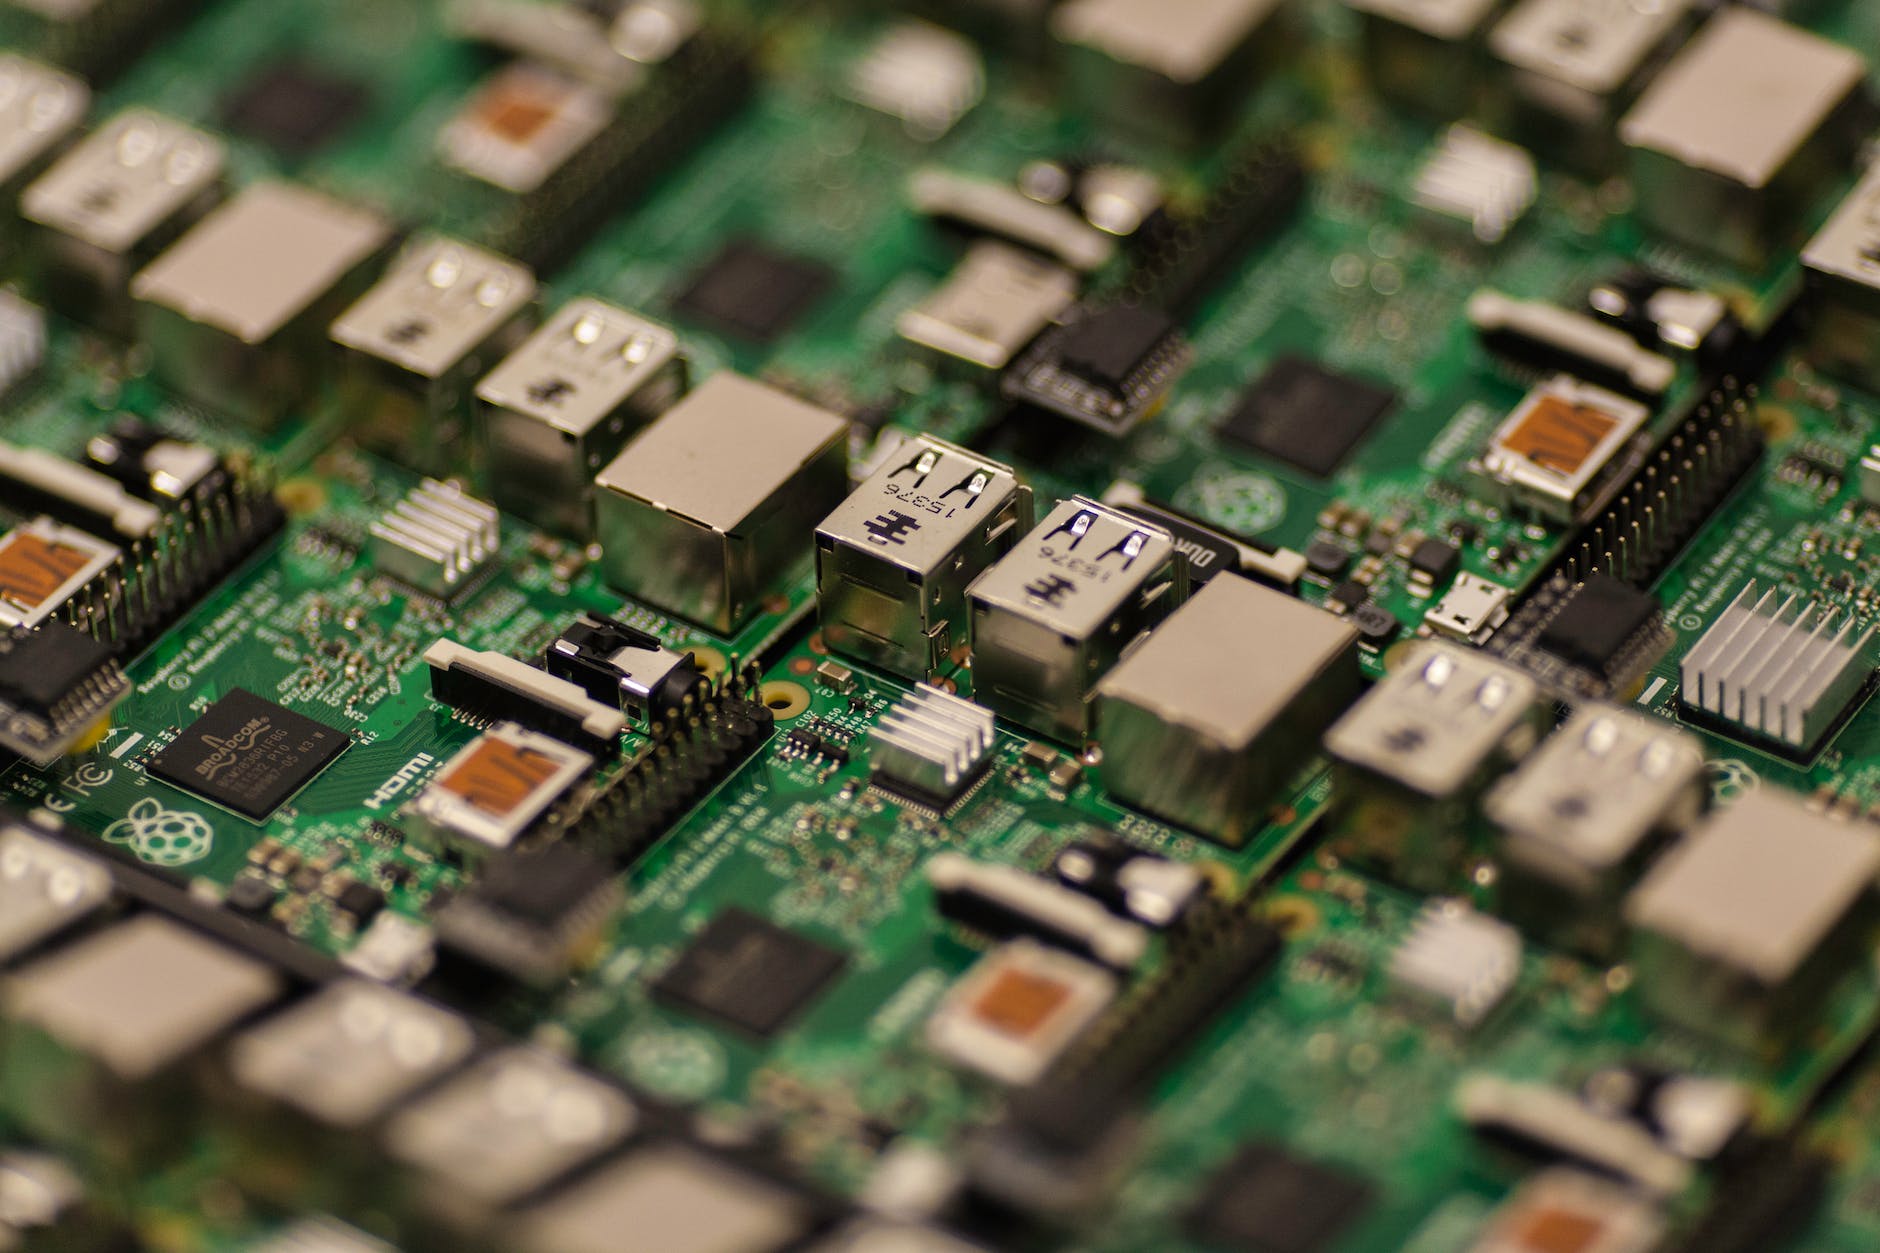
It’s perfect for those who want to get the most out of their single-board computers like the Raspberry Pi, Odroid, or Pine64. With DietPi, you unlock a world of possibilities with minimal resource usage. 🌍
What You’ll Need ✅
- A micro SD card (at least 4GB is recommended).
- A micro SD card reader (if your computer doesn’t have a built-in slot).
- The DietPi image file downloaded from DietPi’s official website.
- A bit of enthusiasm for DIY tech projects! 🛠️
Method 1: Using balenaEtcher (Recommended for Beginners) 🌟
balenaEtcher is a user-friendly application that makes writing image files as easy as pie. 🥧 Here’s how:
- Download balenaEtcher: Head over to balena.io/etcher and download the macOS version. Install it by dragging it into your Applications folder.
- Insert Your SD Card: Plug your micro SD card into the slot or use an external card reader.
- Launch balenaEtcher: Find it in your Applications and start it up.
- Select the DietPi Image: Click “Flash from file”, navigate to your downloaded DietPi image, and open it.
- Choose Your SD Card: Hit “Select target” and pick your SD card from the list. Double-check to ensure you’ve got the right drive.
- Start Flashing: Click “Flash!” and maybe enter your password to give it permission. Then, watch the magic happen!
- Eject and You’re Done: Once it’s finished, balenaEtcher will tell you it’s safe to remove the SD card. Now, you’re all set to boot up DietPi!
Method 2: Command Line with dd (For the Adventurous) ⚡
If you’re feeling brave and want to delve into the command line, macOS has you covered with dd.
This method is powerful but requires caution. Here’s the drill:
- Open Terminal: You can find it under Applications > Utilities.
- Identify Your SD Card: Type
diskutil listand look for your SD card based on its size and name. It will be listed as/dev/diskN. - Unmount the SD Card: Before writing to it, unmount with
diskutil unmountDisk /dev/diskN, replacingNwith your actual disk number. - Write the Image: Execute the command below, substituting
/path/to/dietpi.imgwith your file path andNwith your disk number.javascriptCopy codesudo dd if=/path/to/dietpi.img of=/dev/rdiskN bs=1mPatience is key here; the process is silent and can take a few minutes. - Safely Eject: Run
diskutil eject /dev/diskNand your SD card is ready to boot!
Wrapping Up 🎁
Congratulations!
You’ve just mastered writing a DietPi image to an SD card. Whether you chose the simplicity of balenaEtcher or the control of the command line, you’re now on the brink of exploring the vast potential of your device with DietPi. 🚀
At osbooter.com, we’re passionate about making tech accessible to everyone. If you found this guide helpful, dive into our site for more tips, tricks, and tech insights.
Happy tinkering, and may your computing adventures be fruitful! 🌟